
Showing posts with label Bulletin Boards. Show all posts
Showing posts with label Bulletin Boards. Show all posts
Sunday, September 1, 2013
Bulletin Board - Diving Into Kindergarten
A new school year begins in a few days! I have left my old school and moved to a newer one. And by the looks of it, it seems absolutely fantastic! The administration is wonderful, my team is great, and my ECE partner is amazing! I went in everyday last week to clean and set-up my classroom. I will be doing another post on my set-up for this year. But I spent around an hour making the bulletin board and putting it together before the first day of school begins. I am teaching Kindergarten again this year and this is what the board looks like. And yes, the fish are 3-D!!!


Saturday, April 20, 2013
Bulletin Board - Kindergarten Pizzazz
In my classroom about a month or so ago, my children LOVED talking about pizzas. I decided to make a Pizza Parlour in the Dramatic Centre. And in the art centre, we made our own pizzas with different toppings.
I used Large paper plates. (I took pictures I have to find them!)
Day 1: They painted the paper plates yellow for the dough
Day 2: They used red strips of construction paper for the tomato sauce
Day 3: They put cheese on (I used yellow tissue paper, put it in the shredder and used it as cheese).
Day 4: They added different toppings (used tissue paper and they cut them out themselves to make different toppings. Mostly it was cheese or pepperoni. Some added mushrooms!)
Here is what my bulletin board looked like!!

I used Large paper plates. (I took pictures I have to find them!)
Day 1: They painted the paper plates yellow for the dough
Day 2: They used red strips of construction paper for the tomato sauce
Day 3: They put cheese on (I used yellow tissue paper, put it in the shredder and used it as cheese).
Day 4: They added different toppings (used tissue paper and they cut them out themselves to make different toppings. Mostly it was cheese or pepperoni. Some added mushrooms!)
Here is what my bulletin board looked like!!

Wednesday, September 19, 2012
Bulletin Board - Soaring Into Kindergarten
Oh my goodness, how time flies! I am already into the third week of school and have not gotten a chance to post anything because of how tired I already am. Here is a small post about my bulletin board that I made in my first week of school. Enjoy!

Here is what I did:


Here is what I did:
- Took wrapping paper. One full roll was perfect for the size of my board

Source: http://www.sophiesfavors.com/themes_tiffanyblue_aquabluegiftwrap_sub.jpg
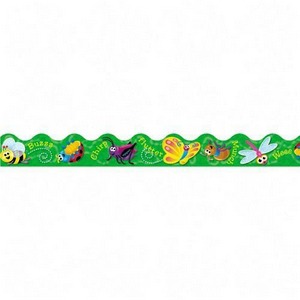
- Put borders around it
 |
| Source: http://images.shopletcdn.com/productimages/300x300/EJ034256.JPG |
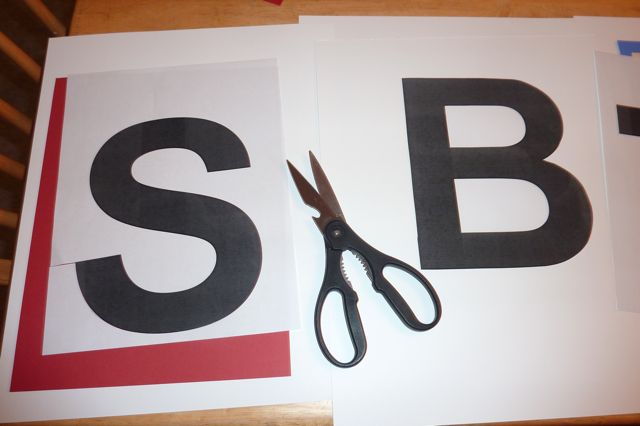
- Cut out letters for the title (I didn't laminate mine; you can always do that for yours if you want to use them again)
 |
| Source: http://melissa.depperfamily.net/blog/wp-content/uploads/2010/09/P1030670.jpg |
- Take construction paper and cut it out as kites. Drew the lines of the kites.
- Wrote the names of the students
- Added a few stickers (4-5)
- Took birthday tissue paper string to make the ends of the kite. And you are done!
Subscribe to:
Posts (Atom)
