So I have been away from my blog for nearly three weeks. I can't believe how fast time has gone by but I have been super busy with my family in the past month. However, I have found a bit of time today during putting in laundry loads and folding.
Source: http://www.woodetccorp.com/R0042%20Art%20Center%20for%204.jpg
Here is my post about one of the most underrated centres of all time: The Art Centre. The art centre should be packed with all sorts of materials that you can touch, smell, hear, taste and see.
I have walked into many classrooms and the art centre only has the regular materials: paint with an easel, crayons, markers, glue, construction paper, white paper, scissors, etc. What ever happened to using different kinds of art materials?? Here is my short list of materials that can be put into the classroom other than the regular paint, markers and crayons.
Large-knob paintbrushes for small hands. Allows for fine motor skills to become enhanced.
Source: http://www.specialneedstoys.com.au/shop/images/stubby%20paint%20brushes.jpg
Different styles of paintbrushes. Allows children to experience different kids of painting with them.
Source: http://mailjust4me.com/crafts/paintbrushes.jpg
Funky brushes are awesome. They give out different textured results.
Source: https://blogger.googleusercontent.com/img/b/R29vZ2xl/AVvXsEgh4sQSLcvd7XJNQ_SgHClQD56THPZ4RIV5LFfR4aaorv1sfZszyGLGyGEOrFf2Bknn4yURU16bCjYNpWeS-2t_KtAeFhHZGP8xA3irlcYULeP8kjSkmj8rx8Ymwlvk3248U_wCm9woRnY/s1600/Alex-3-Funky-Brushes-PaintBrushes-For-Kids-With-Special-Needs.jpg
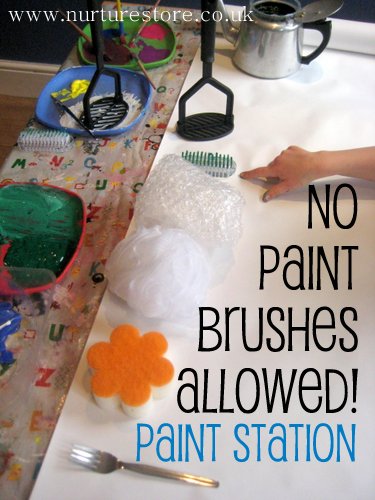
How about a week with no paintbrushes allowed! Find out different materials to use. The picture below shows awesome ideas.
Source: http://farm8.staticflickr.com/7271/7023496541_9ed36f173d.jpg
Spray bottle art! Add water and food coloring and spray away!
Source: http://totschool.shannons.org/wp-content/uploads/2010/11/CoffeeFilterSpray-7608.jpg
I was in love with watercolours when I was a kid. I don't know why we don't use these as much as we did back in the day. They are fun because they also give different results compared to poster paint.
Source: http://www.kidsart.com/store/paintimg/ryrsetwat200_x.jpg
Where have pastels gone? I know they get a little messy but the texture of it is amazing. And the whole point of childhood is to experience all that art has to offer!
Source: http://blog.thedrycleaner.com/wp-content/uploads/2012/04/82-preparing-pastels.jpg
Tissue Paper is fantastic.
Source: http://tissuepaperinfo.com/wp-content/uploads/2012/04/Colored-Wrapping-Tissue-Paper.87115339_std.jpg
Popsicle sticks. They are great for the block centre as well as the art centre. Allow children to experience and build all sorts of structures, animals and other creations.
Source: http://www.instructables.com/image/FEXES8LF9T3NR1D/Lincoln-Sticks-Popsicle-Stick-Log-Cabins.jpg
Feathers are wonderful to use to paint.
Source: http://www.lakeshorelearning.com/media/images/products/full/lc120_f.jpg
Don't forget good old chalk!
Source: http://www.toptenz.net/wp-content/uploads/2010/08/chalk.jpg
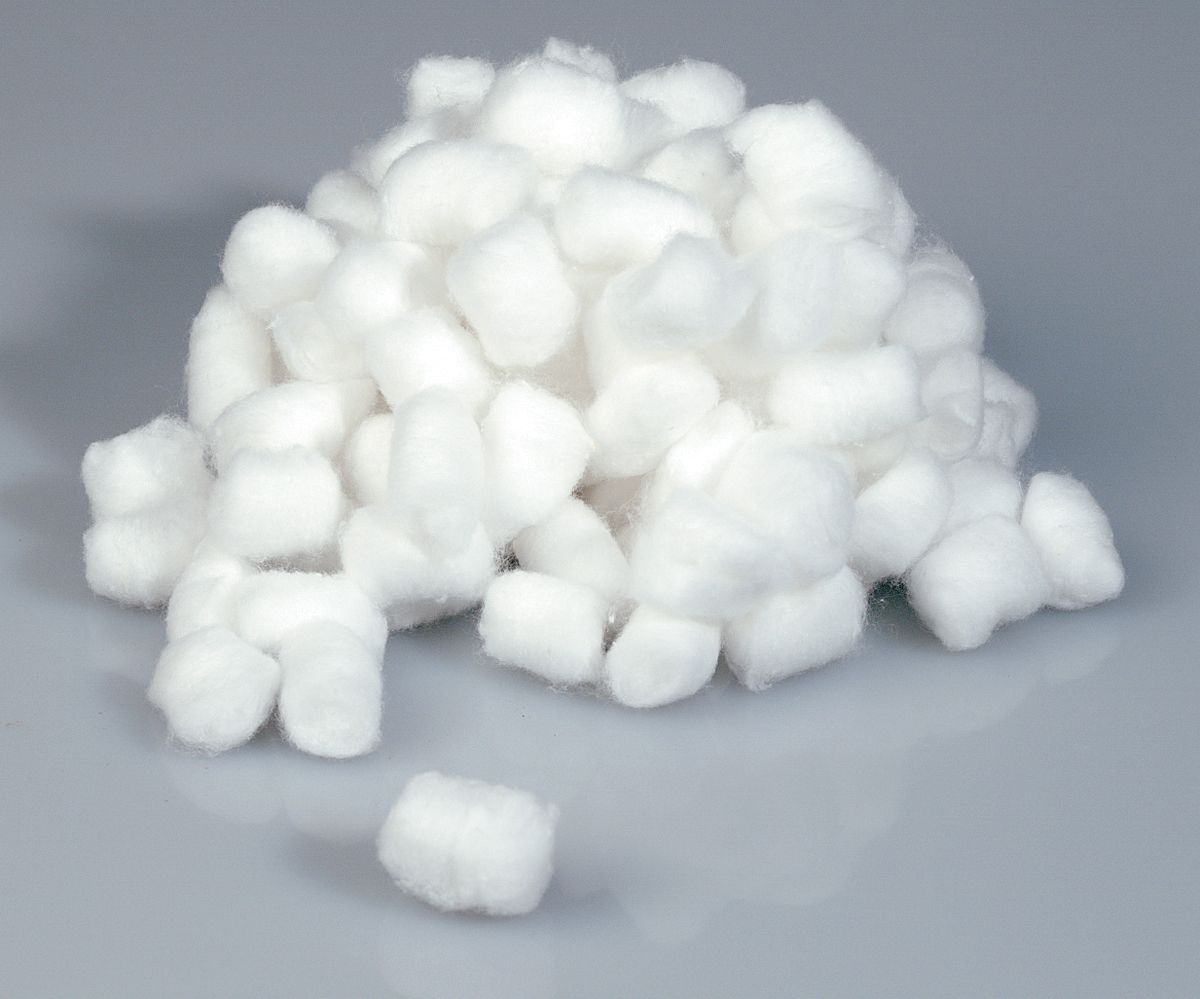
Use cotton balls to paint. Or create your own masterpiece by making snowballs/snowmen, etc.
Source: http://headfullofhydrangeas.files.wordpress.com/2010/01/cotton-balls.jpg
Marbles. Great for painting. Take a big box. Put paper inside. Dip marbles in paint and then put inside the box. Move the box around so the marbles spread paint everywhere. Use different sizes marbles for better results.
Source: http://6bdanielasblog.weebly.com/uploads/8/7/8/0/8780862/2605895_orig.jpg
Coffee filters are great for painting, spray painting, food coloring art and markers. Use any materials to have fun.
Source: https://blogger.googleusercontent.com/img/b/R29vZ2xl/AVvXsEin-0ytzs-QAm7z-7GLu3qVw_gINPGZVY6wATqVmDT57u7_ySXlCLriIQmZ3xGin8vrWVp20bHrntjpTMhRR7vsgqzSZnF-fqmMPYIjaZQJzzWxjdvcl6ZnczLZdEtNNj5CFSApEExLo40/s1600/coffee_filters1.jpg
Tea bags are fantastic after they have been dipped in the water for a bit. The colors and the smell will mesmerize the children!
Source: http://agapeantiaging.com/wp-content/uploads/2012/03/tea-bags.jpg
I like to use glitter glue pens rather than glitter. It's a lot easier to clean up after!
Source: https://blogger.googleusercontent.com/img/b/R29vZ2xl/AVvXsEjLjLm4cWoBy0M0ew-nlGxuF43-E0H7XocyggbTN1iVUjUY1g7L85jHfuw2KyOlBSLTNKf0XZNVBxBsWlz9eBEfTCcgpLEOmrDHas62jKD-4sxxV2Brs-TCedR1QYgN5n9GodUAxwFLkk8/s400/712.gif
Stickers! Kids will never tire of stickers.
Source: http://blogs.smarter.com/blogs/Stickers1.jpg
Threads and Yarns are good with paint as well. Also, these can be used to create necklaces/bracelets, etc.
Source: http://www.aurorasilk.com/yarns_and_threads/naturally_dyed/hemps/images/hempyarncolours.JPG
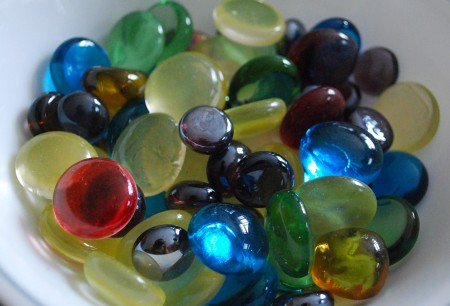
Buttons and beads are an art on their own. Use them to paint with or put through thread and yarn for jewelry.
Source: http://farm3.static.flickr.com/2373/2459497354_8065cfcd01_o.jpg
Stencils. Use spray bottles, paint or markers.
Source: http://blogs.smarter.com/blogs/Face%20Painting%20Stencil%20Set11.jpg
Shaving cream with food colouring is TONS of fun. The children don't get tired of touching the shaving cream because it is so soft!
Source: http://artfulparent.typepad.com/.a/6a00e55246b63f88340120a690b608970c-pi
Add food coloring instead of paint for art to change up the style of activities.
Source: http://healingautismandadhd.files.wordpress.com/2011/03/food-coloring-300x300.jpg
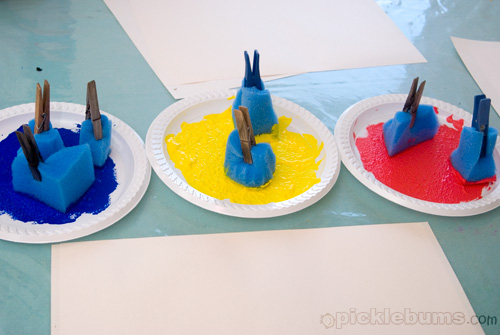
Home-made sponges with clothespins.
Source: http://picklebums.com/wp-content/uploads/2011/07/sponge-printing2.jpg
Bingo dabbers.
Source: http://www.american-bingo.com/images/Bingo-Daubers/Ultima-Bingo-Daubers-4-Oz-sm.jpg
Finger stampers. Use with paint or use with playdough.
Source: http://www.alcoofcanada.net/images/T/Finger-Painter-Stampers-24-Pack-N16008_XL.jpg
Other kind of stampers.
Source: http://www.rainbowresource.com/products/036176.jpg
Different materials: pom poms, pipe cleaners, feathers, confetti, etc.
Source: http://www.littlecraftybugs.co.uk/images/XX%20KIT08.JPG
Another kind of stampers.
Source: http://www.lakeshorelearning.com/media/images/products/full/la536_f.jpg
Large knob stampers.
Source: http://ecx.images-amazon.com/images/I/51F%2BJMp4yUL._SL500_AA300_.jpg
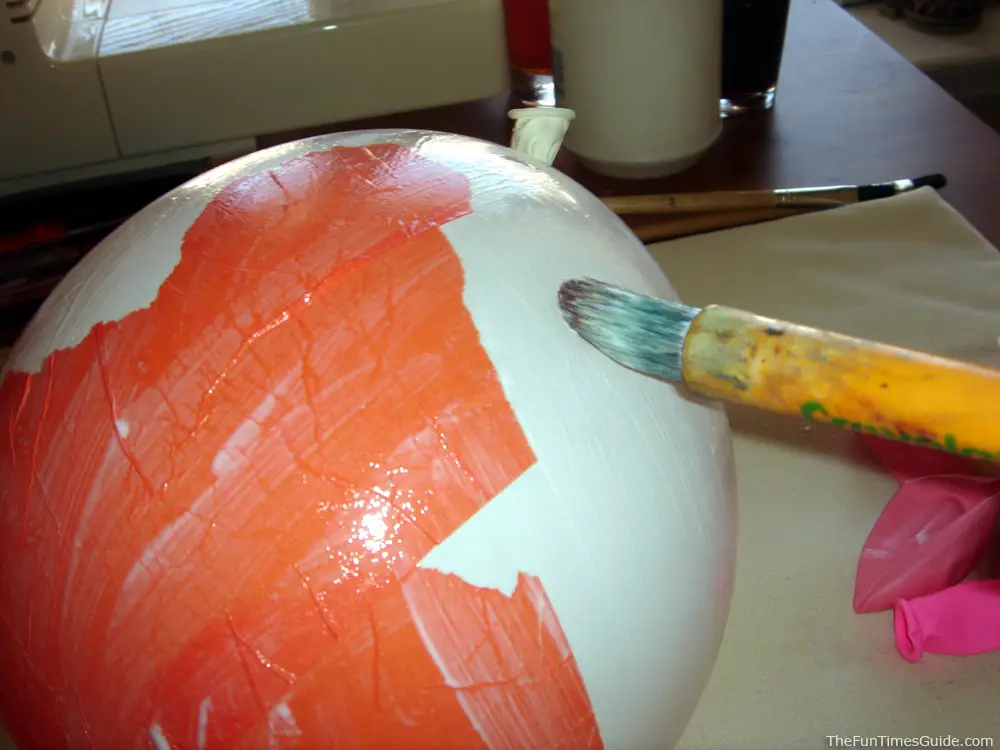
Paper mache. It's unfortunate we don't do enough of it anymore.
Source: http://thefuntimesguide.com/images/blogs/paper-mache-pumpkin-craft.jpg
Clay.
Source: http://www.buzzle.com/img/articleImages/318224-12922-39.jpg
Playdough, of course.
Source: http://www.frugalcouponliving.com/wp-content/uploads/2010/08/playdough-homemade.jpg
Bubble painting! So much fun.
Source: http://www.worldslargestbubble.com/blog/wp-content/uploads/2012/05/bubble-art-colorful.jpg
Hope you enjoyed this post! Also, here is a link to different kind of art activities. It is a fantastic website!


