|
| http://www.clker.com/cliparts/2/R/E/V/j/Q/reading-story-book-to-kids-md.png |
I have been meaning to write a post about storytelling techniques for quite sometime. I have finally gotten a few minutes in my super busy schedule to come up with one! Here is a list of a few techniques I have used and some I haven't (but learned about them when I was doing my undergrad). Enjoy! Oh, and please post some other ideas that you know of or use in your classroom!
Felt Stories
Tell a story using felt! It allows for great visuals especially for books that may have patterns. An example of how I did a felt story can be found here: Silly Sally - Felt Storytelling Technique
Finger Puppets
 |
| http://www.csc.gov.sg/html/newsletter/aug2006/augpictures/FINGERPUPPET.jpg |
Using finger puppets are so engaging! Use them while you are reading or tell a story without the book. Works wonders each way! A fun story that I always like to do is The Three Little Pigs.
Puppet Show
 |
| http://blog.ljcfyi.com/ljcsProjects/craftiness/puppetShow1.jpg |
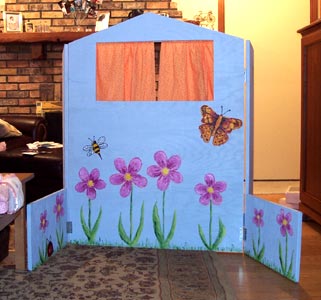
Oh my! What a fantastic idea to create your own puppet theatre! Use one of those 3-panel presentation boards (they cost around 8 dollars from Staples)! Got this picture from Google images and has now inspired me to create my own puppet theatre!
Stick Puppets
 |
| http://www.thevirtualvine.com/images/nurseryrhymes/heydiddlediddle/stpup.jpg |
Tell a story with stick puppets. Just as much fun as any other technique! Remember, any of these techniques work with poems and songs as well!
Cut a Story
 |
| http://www.countryliving.com/cm/countryliving/images/cut-shape-0908-de-38555813.jpg |
As you read the story, cut out a shape that may represent the shape. For example, "The girl was waiting for a valentine to arrive"; You can cut the shape of a valentine as you tell the story.
Draw a Story
and
Create a Class Story
Okay, I LOVE using this technique. That is a story that I drew in my classroom this year on the whiteboard. It can also be done on chart paper and then posted in the room. I chose to do it on the whiteboard. My students actually came up with this whole story on their own. Each child was given the opportunity to create the story. We started in a circle. One student gave one sentence. And the next student gave the next sentence of the story. We came up with this class story. Then they went to the desks and drew a picture of what their creation of the story was. It also became a class storybook!
Real Props
 |
| http://upload.wikimedia.org/wikipedia/en/thumb/3/3c/If_you_Give_a_Mouse_a_Cookie.jpg/200px-If_you_Give_a_Mouse_a_Cookie.jpg |
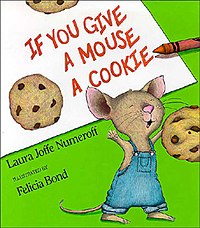
This is one my most favourite stories! I have used this technique many times during my teaching experience. I used the book If You Give a Mouse a Cookie by Laura Numeroff. I bought all the props (from the dollar store) needed from the story and put them in order of the story in the basket. As I read the story, I pulled out the item/prop and laid it in front of me. The kids love it and so do I!
Role Play
 |
| http://25.media.tumblr.com/tumblr_m2snatNJc81rsthpao1_400.jpg |
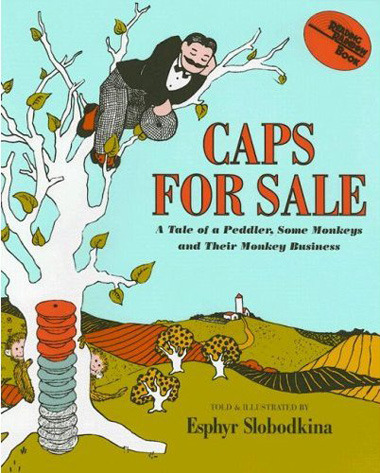
Role play the story! You can add students as you go along. I did it with my students and they loved it! Caps for Sale is awesome to read! Grab a bunch of hats as props and you're good to go!!! Here we can build role playing and theatre skills!
Storybox Technique
 |
| http://www.margiepalatini.com/wp-content/uploads/2010/04/moosetache.jpg |
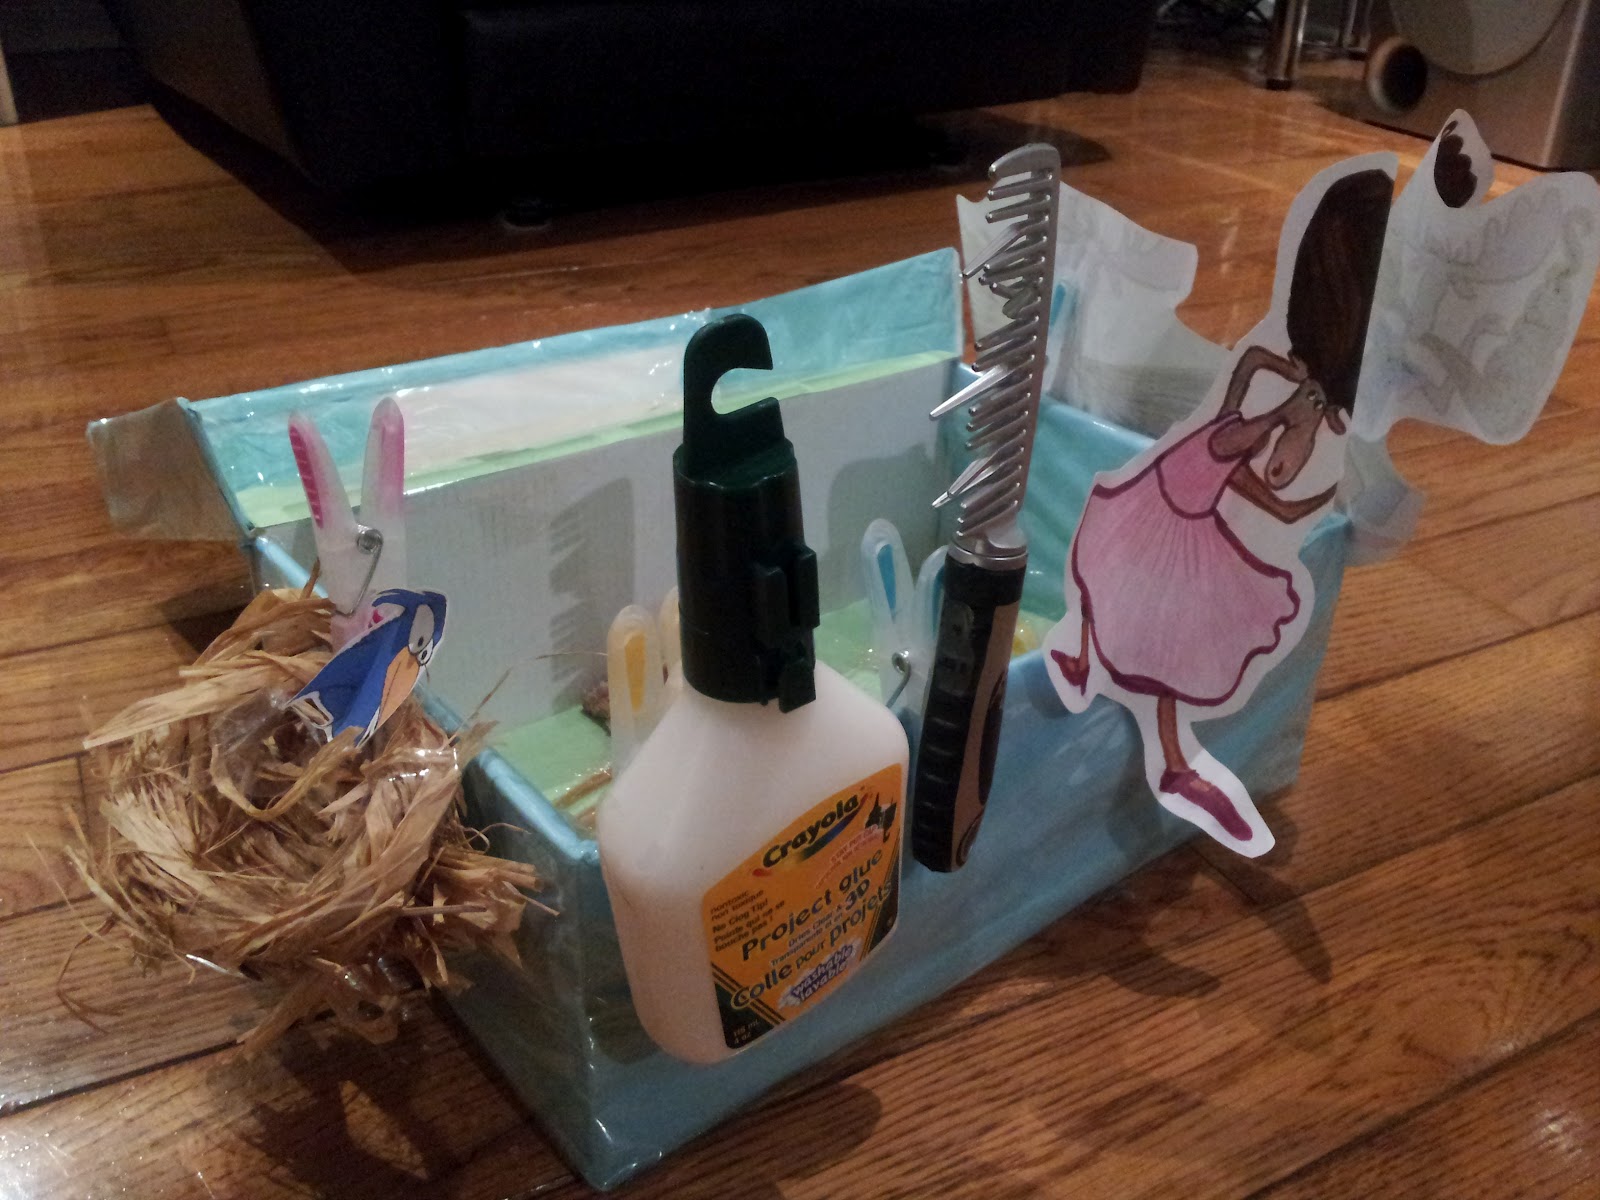
Fun way to have a few props in the box. An easy carry-with-you-anywhere box with all the things you need for the story. Check out my post Moosetache to find out how I did mine!
Musical Instruments
 |
| http://www.kidstylefile.com.au/wp-content/uploads/2008/05/kidsgiftlist_musical-instruments.jpg |
 |
| http://studio3music.com/wp-content/uploads/2009/07/mortimer.jpg |
Simple! Use musical instruments while you tell your story. Mortimer is a great one to use. Check out my post to learn more about how I used Mortimer in my classroom.
Clothesline
 |
| http://www.harpercollinschildrens.com/harperchildrensImages/isbn/large/9/9780694010769.jpg |
 |
| https://blogger.googleusercontent.com/img/b/R29vZ2xl/AVvXsEjXYtAljoZzFP268vrL8f4PizjKIyNdlVMK2q6pIRBc-G2uBvhzvHConQAzZ1qsNaoT1a8LAKGyatacghWofiaaFxkpD3yl4jkJiCaXLiOoNbpbb8lJp8EnEk50OTYfqQSJX07Bk9EIGyWL/s1600/Mrs+McNosh+007.JPG |
Get a strong clothesline. Buy some clothespins. Get pictures for the story (make from felt or photocopy the pages of the book and laminate them for forever-use). As you read the book, ask a child to put the corresponding item on the clothesline. This book is fantastic for it!
Flashlight Fun
 |
| http://mindcemetery.net/wp-content/uploads/2011/09/kid-with-flashlight.jpg |
Reading a story is SO much fun with the lights turned off and blinds shut. Make the room dark and turn on a flashlight!!! I love this technique. So much fun to do at any time of the day. Gives children a change and lets them know that reading can be done during the night as long as you have a flash light!!
Large Books
 |
| http://www.makeandtakes.com/wp-content/uploads/2007/06/big-books-008.jpg |
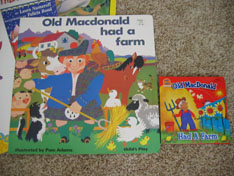
Large books are great because the kids can see the pictures and words in a much bigger size! Awesome to listen to!
Other techniques can include: Singing chants during a story/song (We're going on a bear hunt), Physically participating (stamping feet, clapping hands), Use stuffed animals to tell a story, Word Cards/Pictures (when they hear a part of the story, they hold up their card/picture), and Hear and Respond (every time they hear a certain word, they must respond with an action/chant. Ex., "little frog" say ribbit ribbit or jump 3 times).